
How To Care for Cafelat Robot
The Cafelat Robot, both the original and barista editions, require very little maintenance. That said, we sell all the necessary parts for routine maintenance and parts replacement. In this brief video, Steve shows the Robot parts that are available in our catalogue and then briefly discusses and previews a video about turning a standard model into a barista model.
Transcript
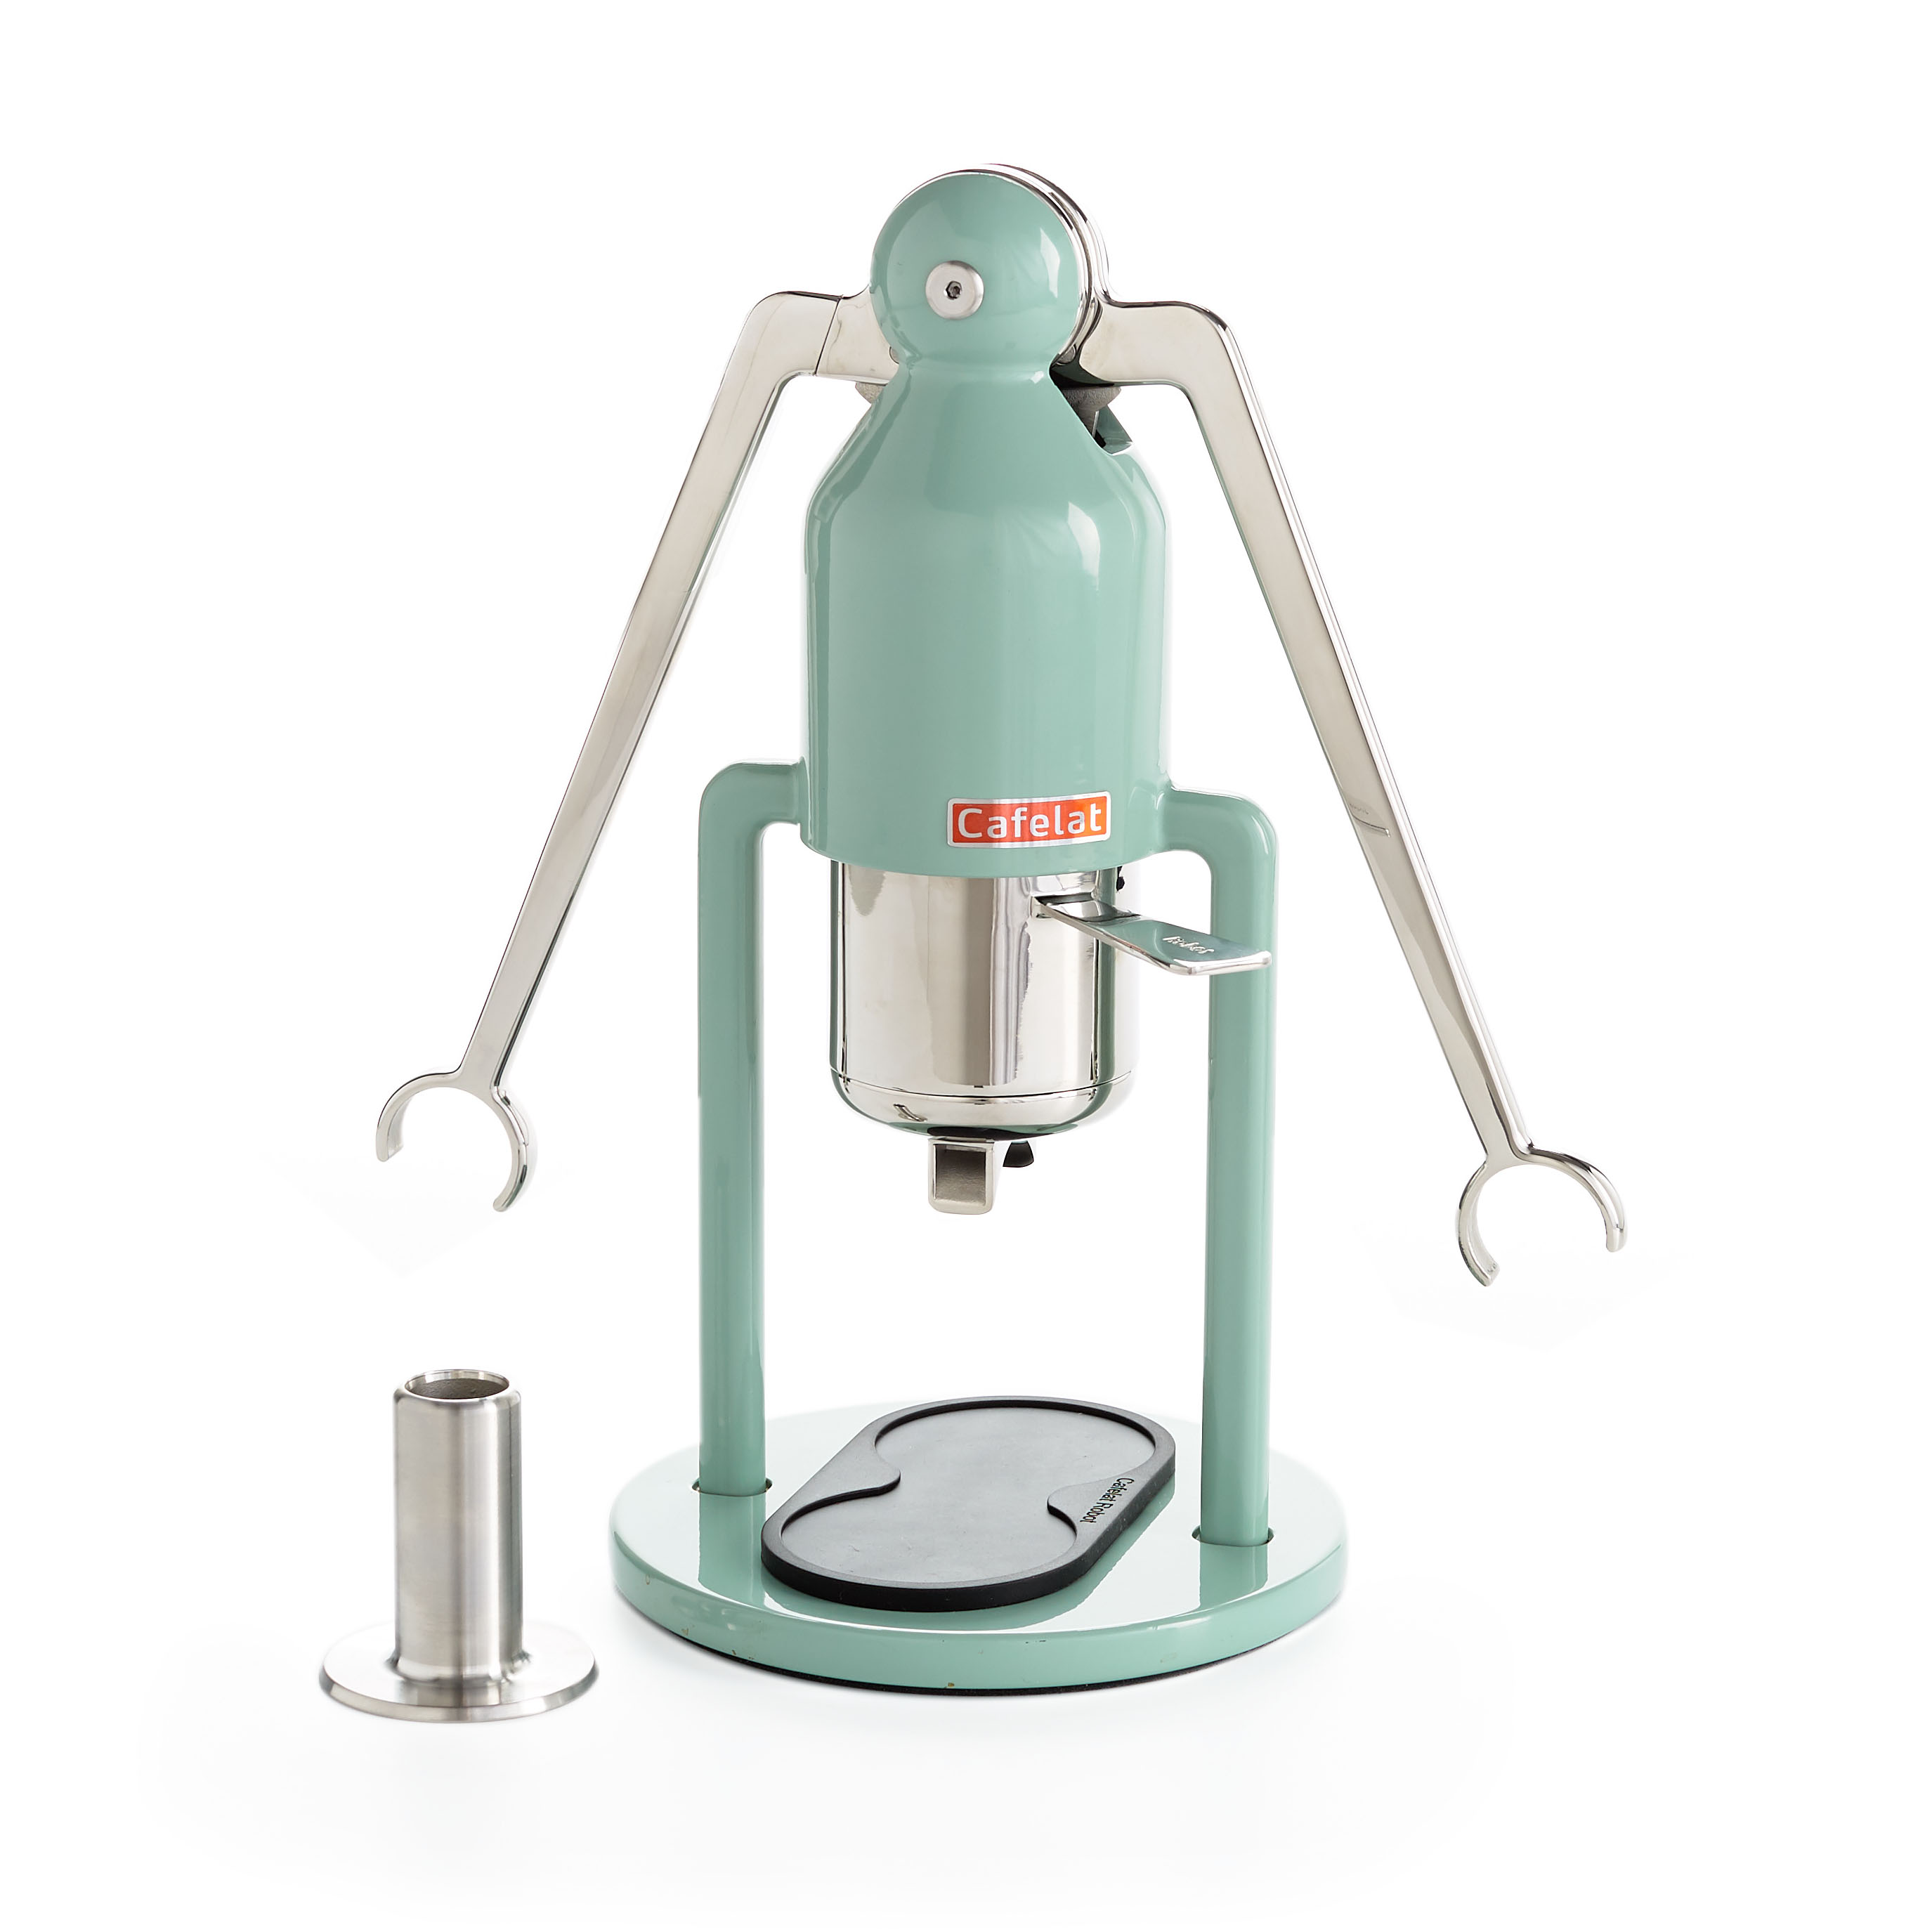
Hey. It's Steve here from Prima Coffee, and today, we wanted to make a brief video to show you the small parts that we carry for the Cafelat Robot. The main pieces that we have here are this silicone o-ring that goes on the bottom here, on the base, and the one that goes on the bottom of the piston that helps to create that connection with the basket. So, the bottom one is quite easy. You can put it on its side. It's definitely easier if you have a couple of books to put this between, but any way is really fine as long as you can get access to the bottom. And it's very simple to pull off, like that, and then you take the new one and just take the thinner part, and that fits into the grooves just like that. And then, you have this gasket. So, if it were to crack, or if you were to see that water was starting to come out of the sides as you were making espresso, then you do want to replace this, and it's just easy to pull off. It's just a silicone piece, so if you get some tension, you can pull on it. And then you can put that piece aside, you can throw that away, and then the new piece will go on with the open part facing to the bottom. That might be, kind of, counterintuitive, but that is how this works. It's going to look, kind of, flared out, but that's what you want. Take some silicone, food-grade grease, and put it on the inside here. So, we got it on there, and, basically, go ahead and replace it. It's pretty simple. Just pull, and the grease will help you make sure that it gets into the groove. And once it's into the groove, kind of, check to make sure that the bottom part is actually in there because if it's not, you won't have a perfect connection. There we go. So, just like that. And those are the two main pieces for the maintenance that you're going to have to do, and this one is the key piece here on the Robot. So, the other pieces that we carry are going to be for the barista edition. You have a couple of Parker leg fittings here. You have the hose kit that, basically, creates that pressure that the pressure gauge will read. These are on either end of that hose, so these fittings are just push fittings. So, you just pull that piece back, and you can push that piece in like that. And then in-between the pressure gauge, so right there behind the pressure gauge, we sell this little, tiny...if you can see it...mesh filter, and that just fits in there between the pressure gauge and this top fitting. So, those are the pieces that we will sell. And again, if you need to do maintenance on your barista edition, if one of those were to break, or if you're going to turn this into a barista model, which we will do another video to show you how to do, then you're going to need that stuff. So, that's how you maintain your Cafelat Robot.


